Detachable modded Monoprice Retros
Adding a 3.5mm jack to my headphones, featuring 3D printing.
My current headphones are Monoprice Modern Retros. They sound pretty good, but the (very long) cable died a few years in. I have been advised before to “detachable mod” them, that is replace the cable with a 3.5mm socket so you can use any old “aux”. This makes replacement trivial and moving them around slightly easier.
I mostly based this project around this Instructables tutorial by NicholasB141. I took off the sticker, opened the left ear cap, but instead of replacing the wires I just soldered them directly onto the 3.5mm socket. I then attached the socket with hot glue into the partially hollowed out end cap.

This kind of worked, but due to the socket I could get being metal it really would not stay attached easily. It would keep pulling out. The tiny wires audio gear uses are also terrible to solder, so they would also detach under the weight of the pulled out socket (it’s even the case in the above photo!).

This was not ideal. The socket I have is supposed to be panel mount, that is it’s supposed to be put through a panel and screwed to it with a nut. I’d need a surface to mount it in. Fitting it within the casing wouldn’t work, as there’s not enough space inside, so I needed to make a new cap. I do not own a 3D printer, but I knew someone who does, and I have some experience with 3D modeling.

After a brief attempt at photoscanning (failed miserably), I measured the original end cap and the casing it fit onto (38mm outside, 1.2mm walls, 35.6mm inside btw), recreated the main cyllinder in Blender out of a circle extruded to 16mm and Solidified to the correct thickness. I also added a “floor”, out of a 0.8mm thick circle offset 1mm from the bottom of the cap, that space being left for the sticker.

I wanted to reuse the original screws, so the screw holes are in really deep wells, matching the original screw hole depth. I also added a bit of a flange, not sure how much this helps with the their solidity but it felt cool to do. The screw hole was then “bored” with another Boolean.
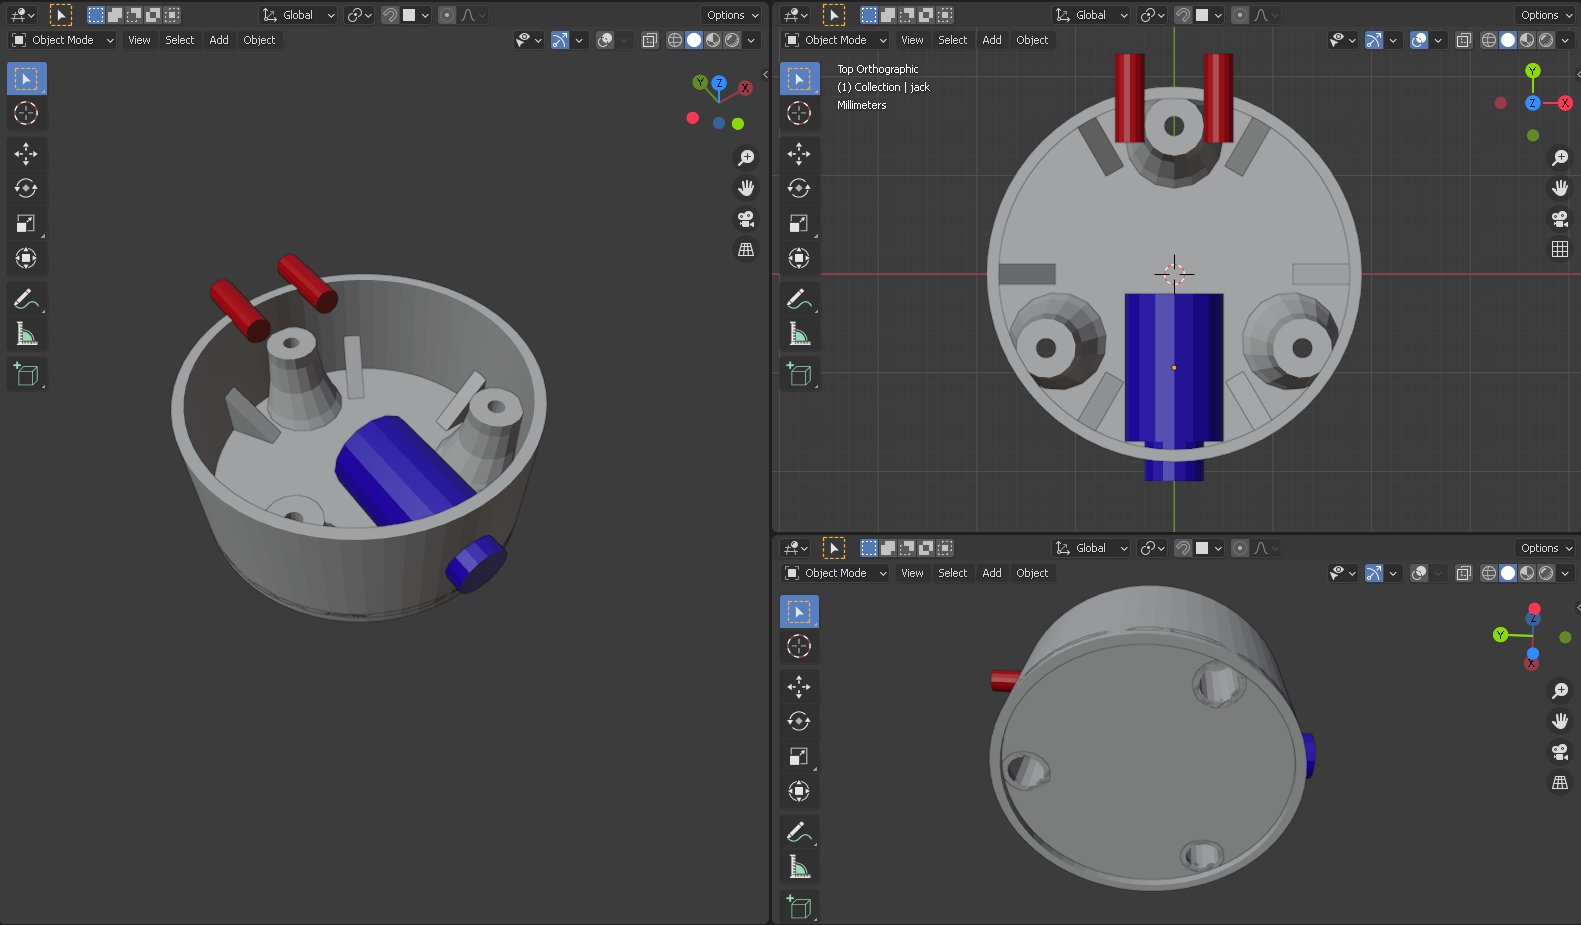
I also modeled a simple stand-in for the jack out of two cyllinders, first for reference of the space left inside and second to create a hole in the side with a Boolean modifier. I also recreated the headband arch things to Boolean them out, and added some triangular supports around the walls.

And with that, the end cap model was complete! I was a little scared of the self-intersections I ended up with, but thankfully the slicer had no issue with it. After convincing the friend letting me use his 3D printer that no, really, I know what I’m doing, that lifted floor is supposed to be here and I know that it will need supports and have an ugly texture and it would look better if it was directly on the print bed but it’s to make space for a sticker and it will cover it up, I soon had a physical version!

After a bit more cleaning up, I fit it in my headphones. I ended up finally replacing the wires too, the kind I used is a little too heavy for this job but I had it on hand and it worked. The idea to use the headband arches as wires to get to the other cup is really clever, and works well.

After buttoning everything up, the result looks rather nice! The socket sits flush now and is attached much more solidly than with hot glue. I ended up leaving the random sparkly silver filament color rather than painting it, both out of laziness and to flaunt the 3D-print-ness.

The extended cover sticks out visibly, but it’s not really a problem. It works, and I’ve only had to open it up and resolder one of the wires once so far. All in all, a success!
